We’re making progress in the flip house and the latest project completed was a big one, the floors! For this installation I chose a wood lookalike waterproof vinyl floor and partnered with Armstrong Flooring to do it after I fell in love with a sample of their luxury vinyl flooring products.
The color I chose was Bluegrass Barnwood Fiddle Brown in the Vivero Luxury Vinyl Plank line and I was so excited to work with this product!
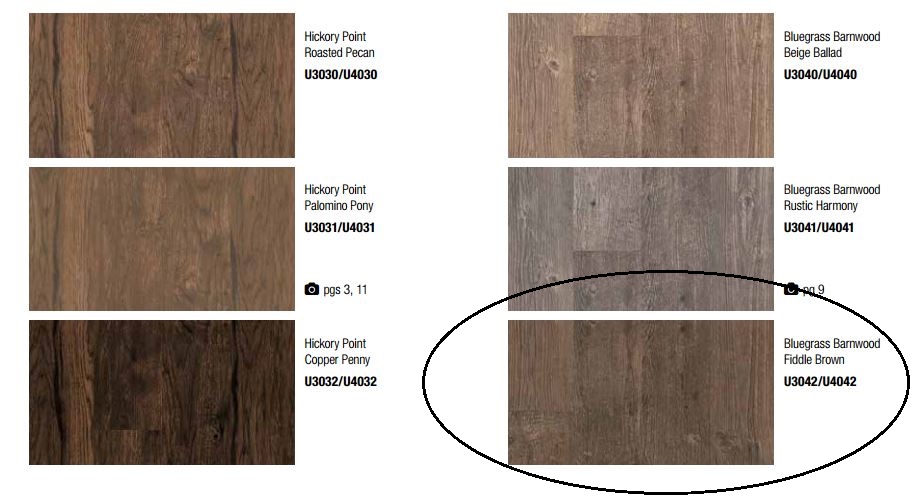
This flooring resists dirt, scuffs, and staining and is made with Diamond 10 Technology, an exclusive manufacturing process that makes Vivero extremely durable. The flooring arrived by truck, but before we could install it we had to remove the old carpet and tile and prep the floors for the new planks.
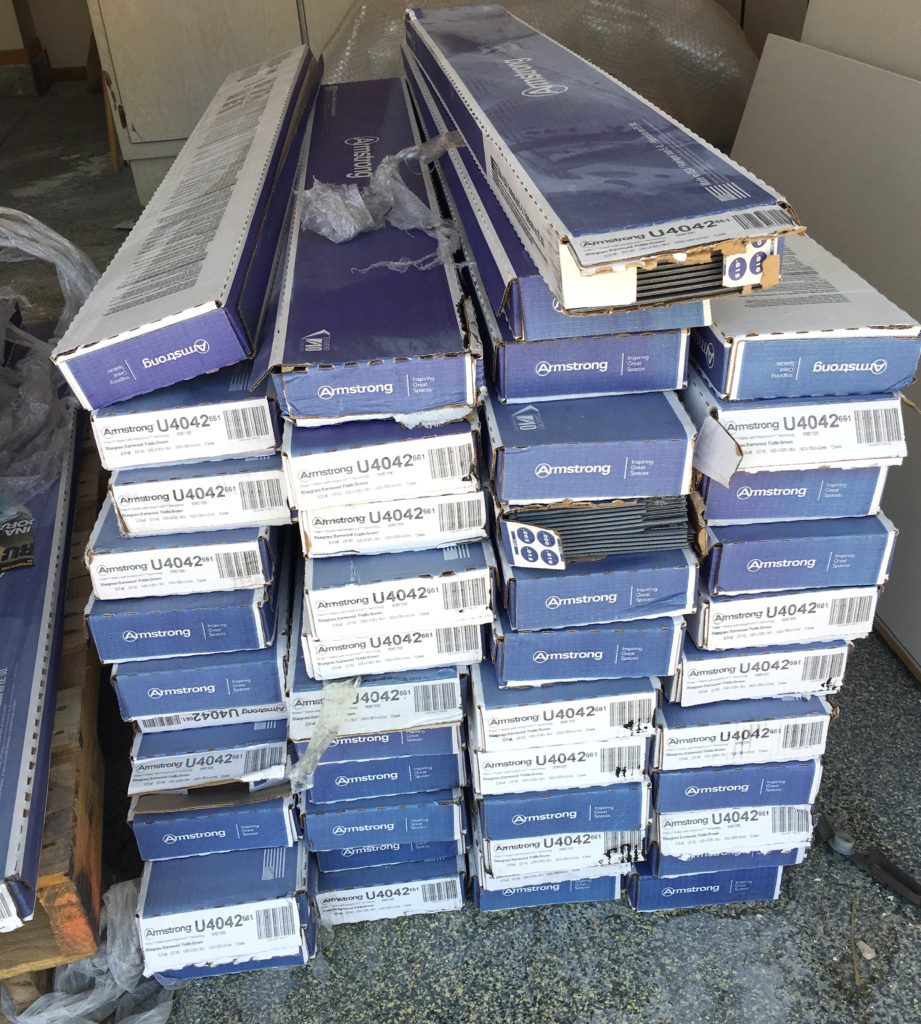
This particular luxury vinyl plank product installs over most subfloors, and with Armstrong Flooring’s IntegriLock™ System no glue is required, it’s a floating floor, one that you can install yourself.
Once we pulled up the carpet and tile we were left with a floor covered in old glue and carpet remnants and the subfloor was full of cracks. The situation was pretty bad, and nowhere near where we needed it to be to lay down a seamless plank floor by ourselves. *Sigh*. Prep and installation wasn’t something we could handle alone on a 3 day visit so we decided to bring in help.
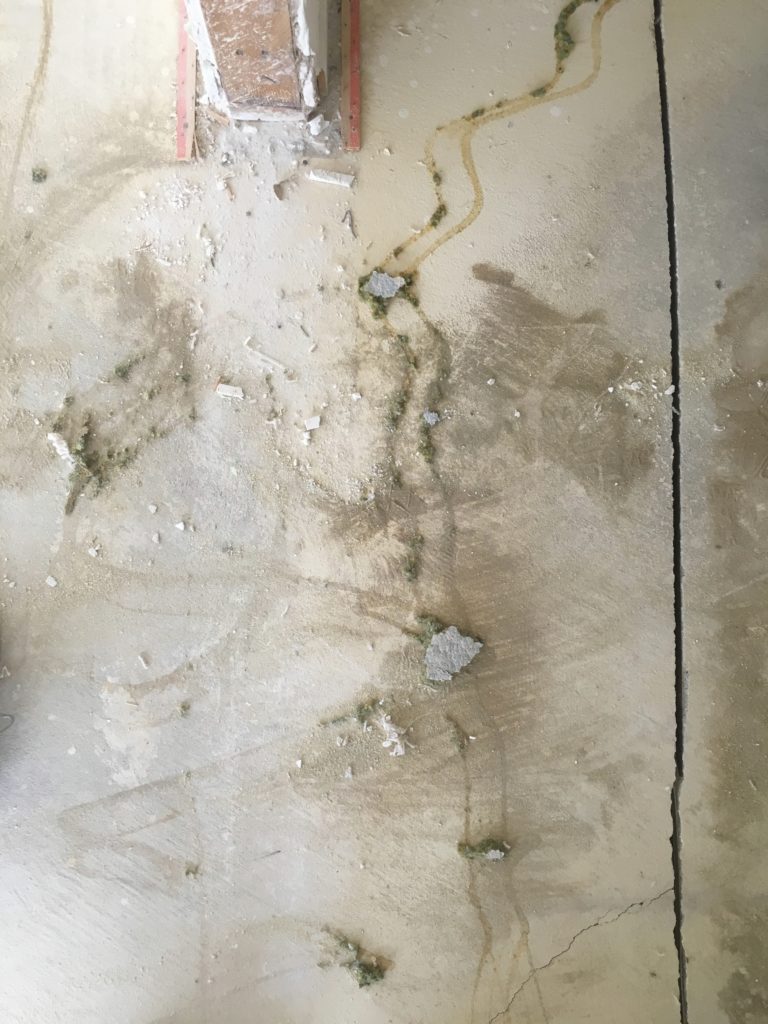
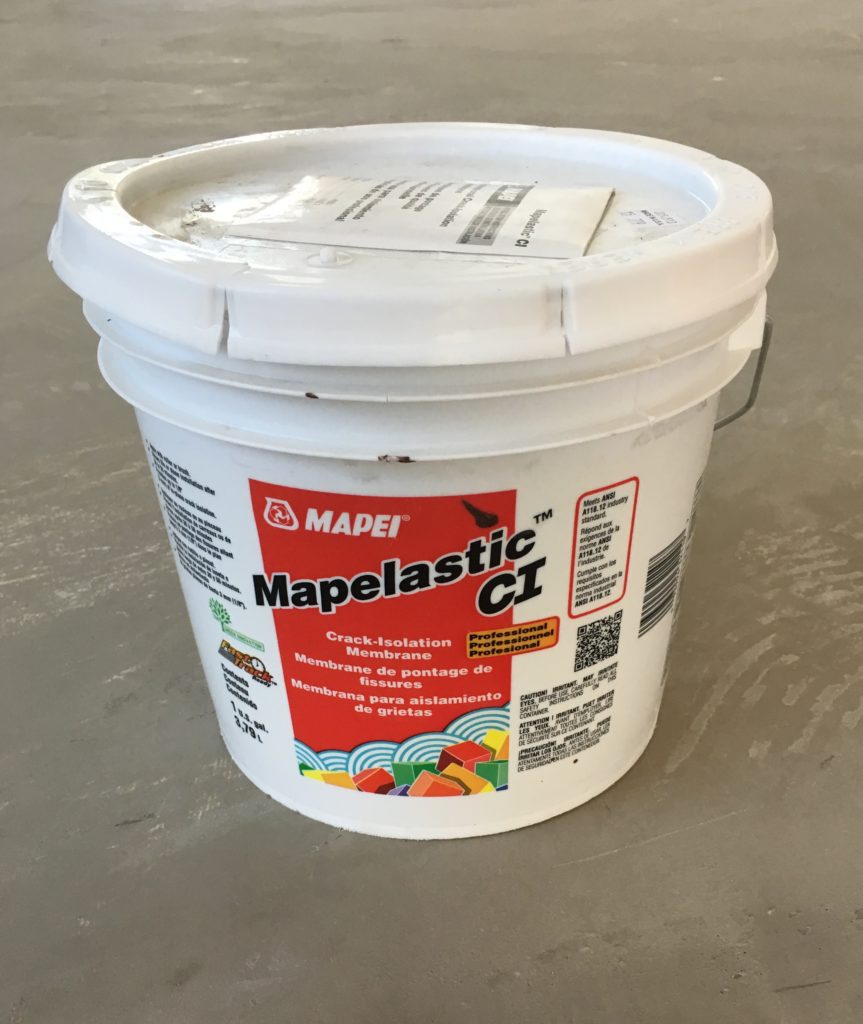
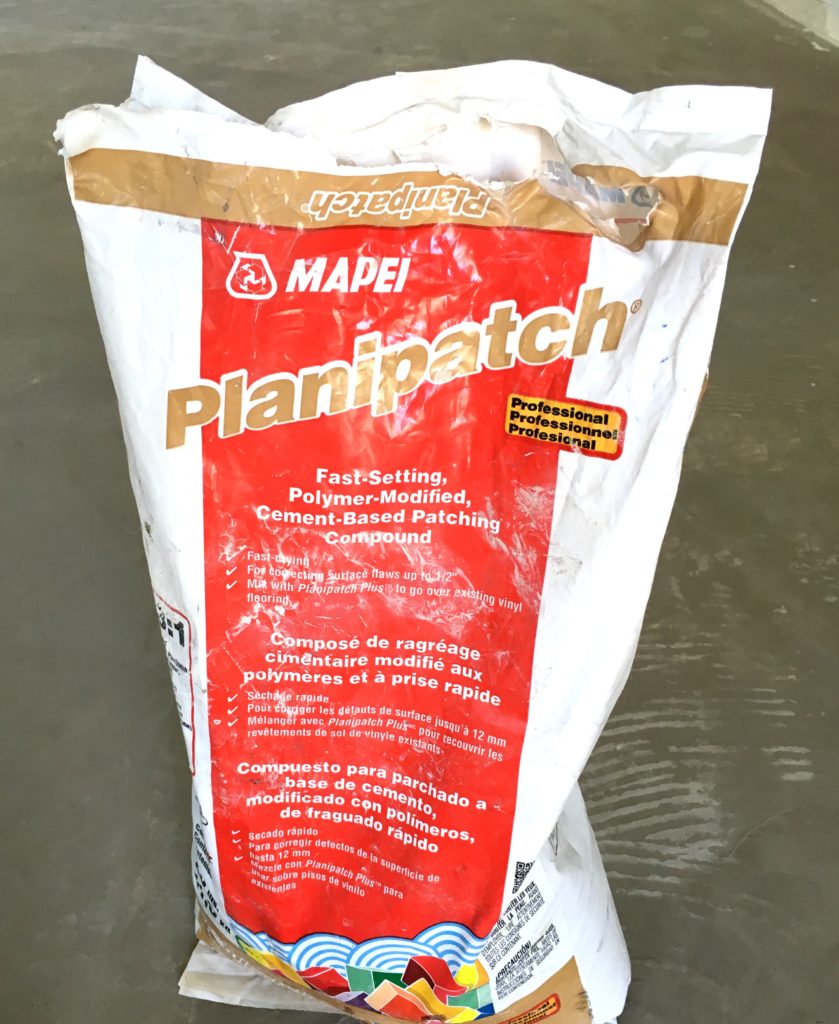
We hired a subcontractor to help us get this job done right. To prep the floors for the luxury vinyl planks, our guys used two products to fill the cracks and smooth the cement slab foundation, one is a crack filler the other a cement based patching compound to ensure the floors were level and smooth.
Here’s a look at the flooring that was there when we bought the house, dated ceramic tile and smelly stained carpet. I wanted to use consistent flooring throughout and a wood look product that would be both durable and waterproof so I could use it in the kitchen, which is how I ended up opting for luxury vinyl plank.

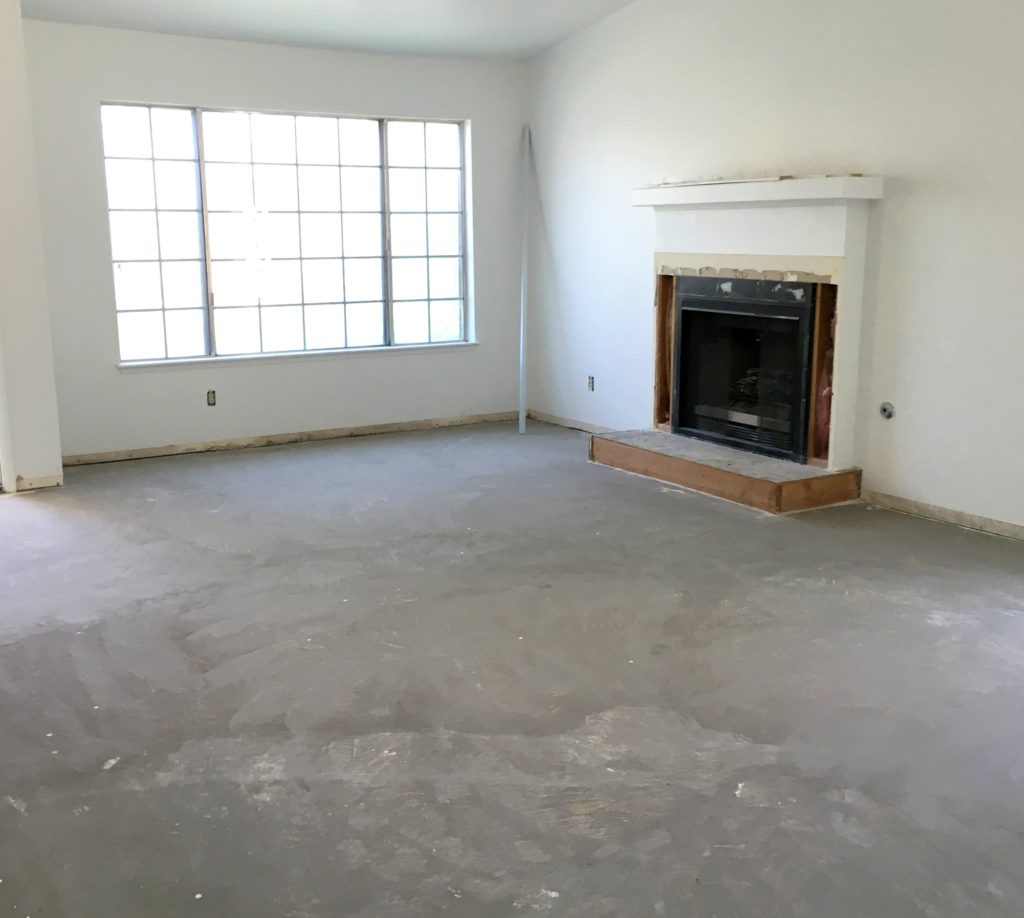
Here’s a peek at the living room space after the subfloor was prepped with the crack filler and compound.
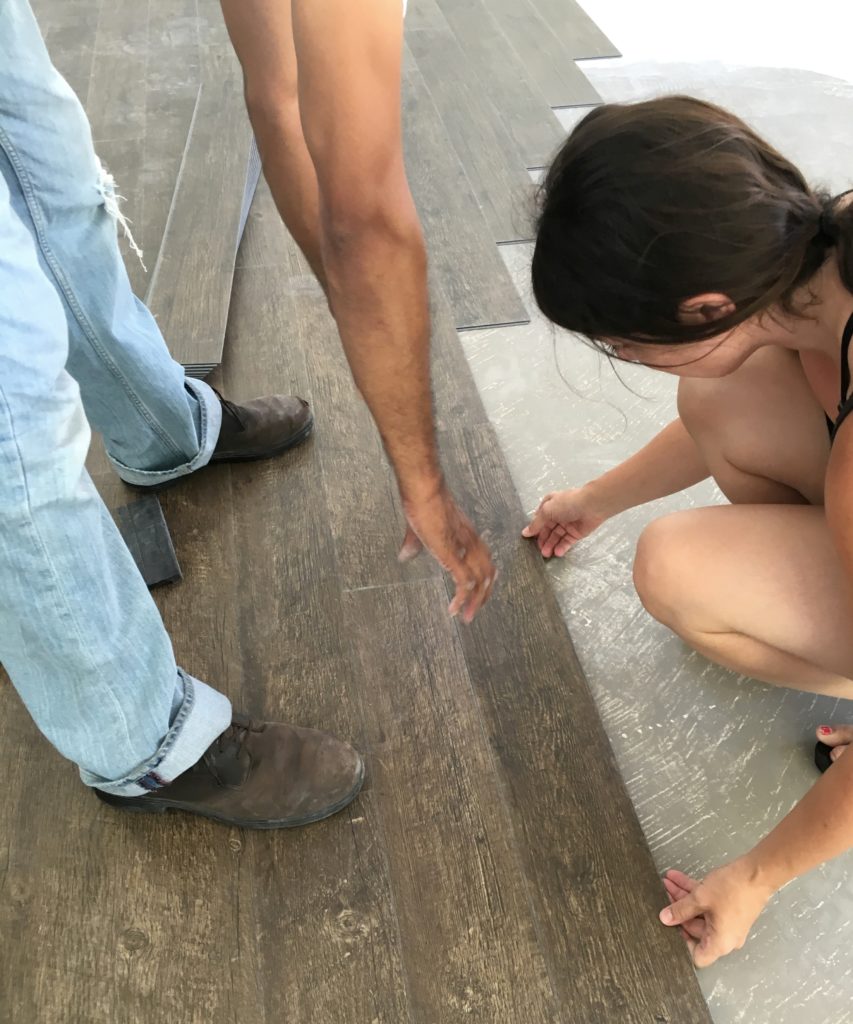
They started in the front corner of the house by the front door and worked with a staggered pattern. I was debating between flooring patterns but decided on the classic installation instead of diagonal or herringbone since this house is being remodeled solely for resale and I concluded this vertical pattern would appeal to the widest market.
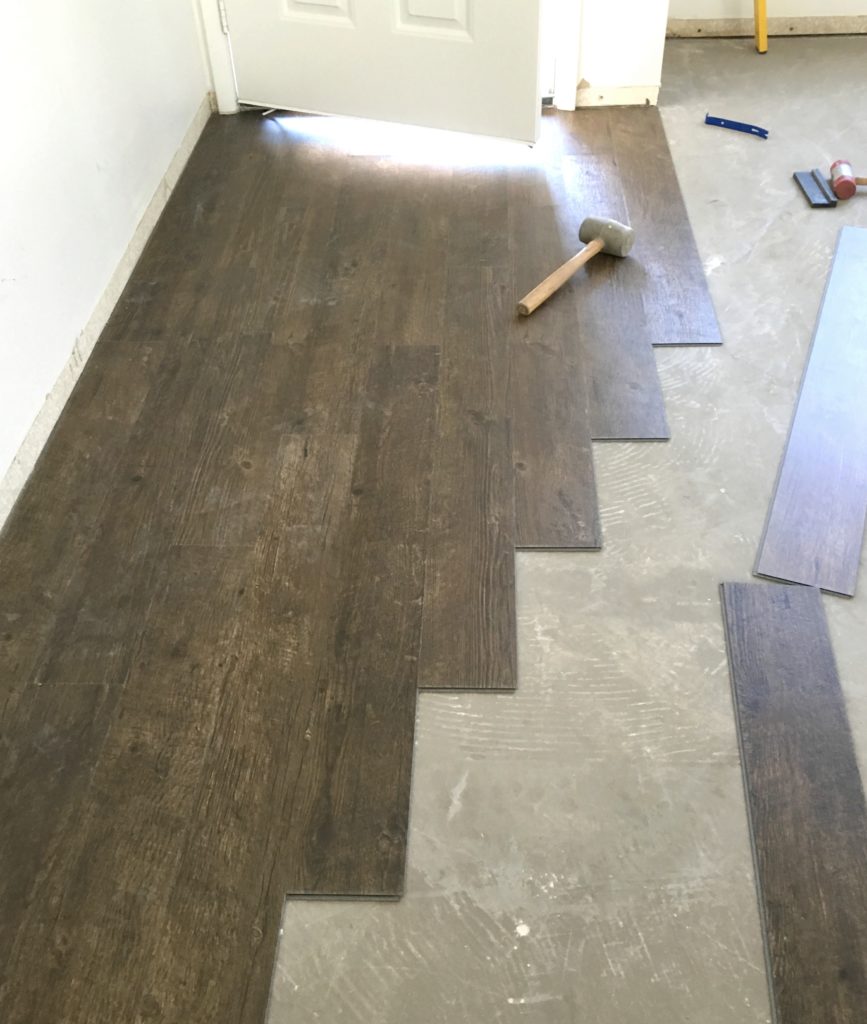
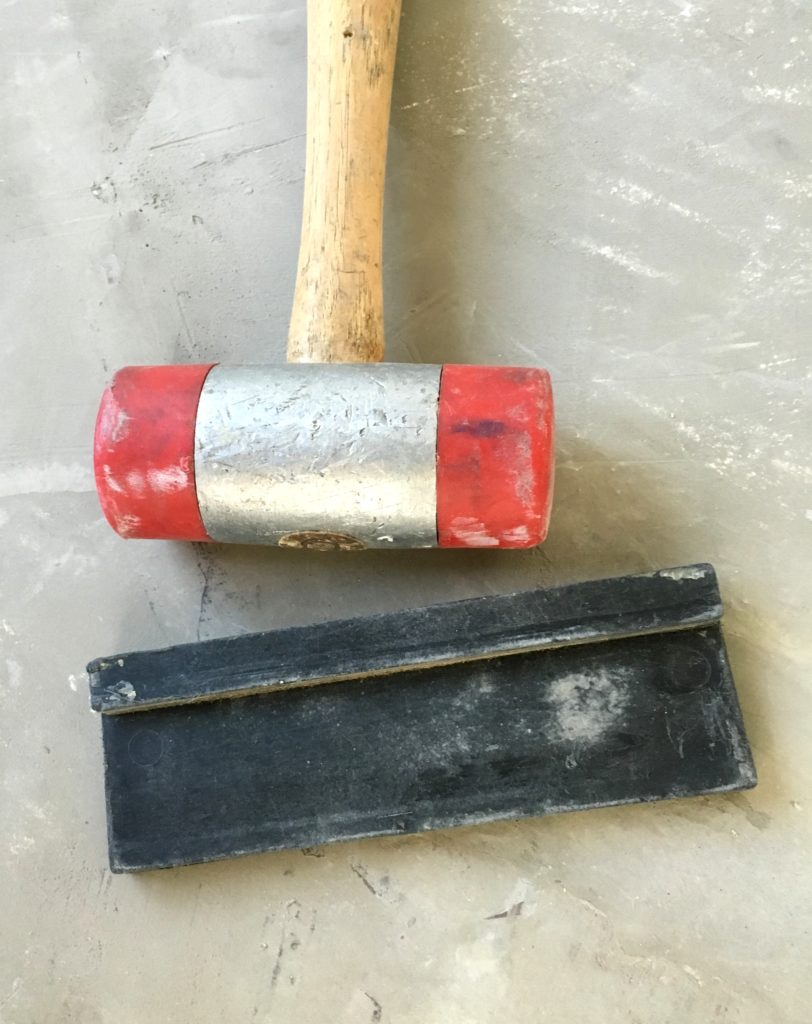
I was watching the installation carefully because we’re installing very similar flooring in our studio in California in just a few short weeks so I needed to learn how to do this! The guys used a wedge tool and mallet to ensure each groove fit each surrounding plank for a seamless finish.
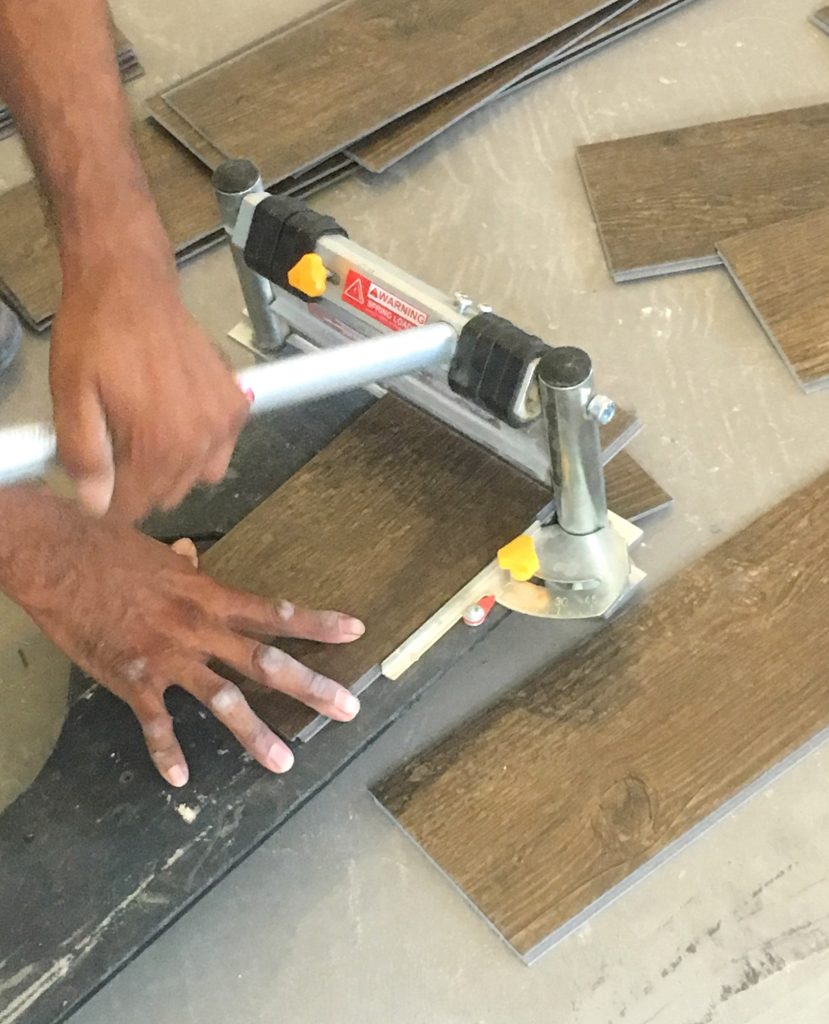
To cut the vinyl planks they brought a tool with a sharp blade, they called it a “guillotine blade” but online it’s referred to as a shear flooring cutter for vinyl and laminate flooring.
After a few planks, I got the hang of it!

I’ll share pictures of the finished floors soon, they look so beautiful!
*This post brought to you in partnership with Armstrong Flooring, thank you for supporting the brands that support this blog. All opinions are my own.
No comments:
Post a Comment