
Wood bead garlands have been popping up in interiors for years. I think I first noticed them styled in Scandinavian vignettes. Then they became pretty popular as holiday garland on trees and mantels. More recently I’ve spotted them casually gracing tabletops in interiors with a natural, organic vibe. (Lauren Liess’s coffee table and Anissa’s dining room table come to mind.) I love how effortless they look. Oh, this ol’ thing I just tossed on my table?
A few weeks ago when cabin fever hit hard, I was itching to make something. Putting my spin on the famed wood bead garland sounded fun so I gave it a whirl. Obviously, I’m not reinventing the wheel here but it was nice busying my hands and tweaking little details to my liking. Here’s what I did…

I knew I wanted a pretty substantial strand with a longer length and chunkier profile (no measly little necklace of wood “pearls”) but when I started gathering my supplies I quickly discovered that pre-drilled wood beads are expensive! And I needed quite a few. To save money, I ended up buying wood balls in various sizes and drilling the holes myself. I bought three bags of 1″, two bags of 1¼” and one bag of 1½” wood balls along with four yards of leather cording. I raided the garage and found some heavy duty grip pliers to stabilize the balls during drilling.
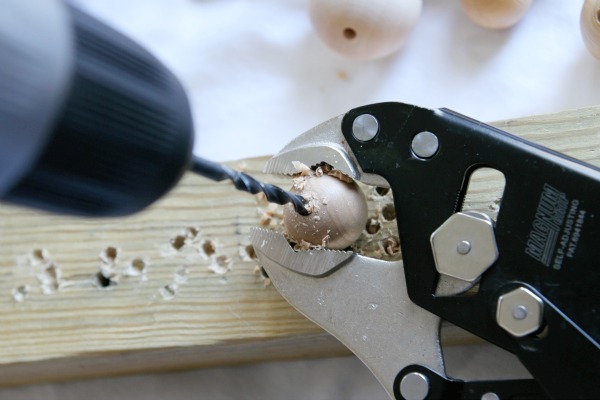
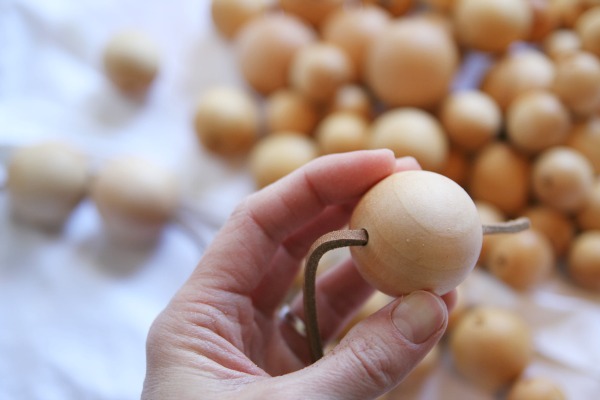
One by one, I placed each ball on top of a scrap piece of wood, secured the ball with the pliers in one hand and drilled a hole through the center with my other hand using a 3/16″ drill bit. (I’m a lefty so if you’re a righty flop the image above for a better visual.) You can drill whatever size hole you want. The key is to drill a hole at least slightly larger than your preferred stringing material: rope, string jute, yarn, etc. Keep a firm grip on the pliers!
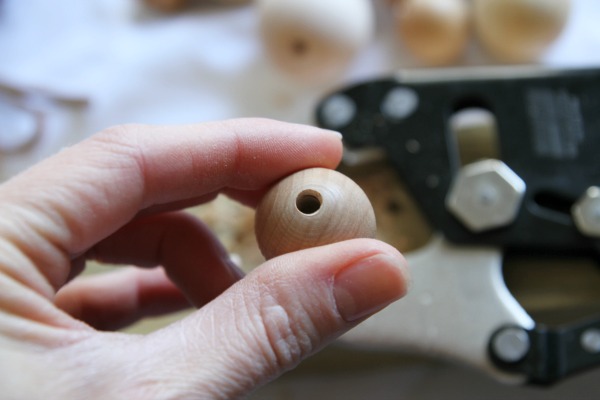
Drilling through the ball into the wood scrap below prevents splintering and produces a a clean cut. Ideally, this would be an outdoor project but below-zero temps kept me indoors. I kept the vacuum nearby and swept up sawdust as I went along.
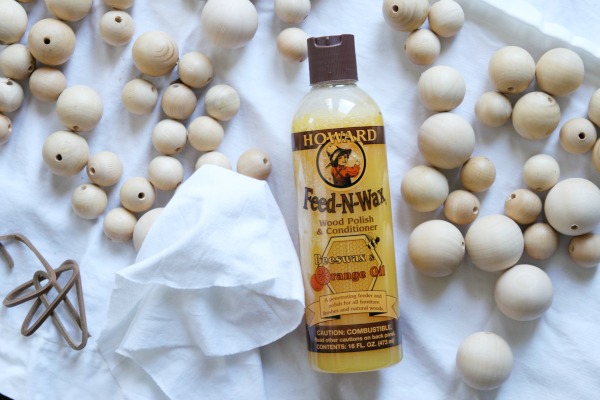
After all the holes were drilled, I wasn’t digging the cool grayish tones of the unfinished maple. I busted out my trusty beeswax + orange oil wood conditioner (previously seen here) and applied it with a soft cloth.
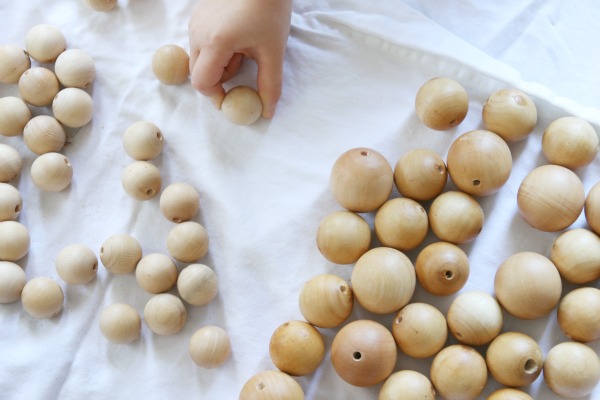
This was about halfway through the waxing process. The beads on the left are unfinished. The beads on the right are waxed. I love how the beeswax warms up the wood tone and emphasizes the graining. Instant patina!
Once waxing was complete, I strung the beads onto the leather cording.
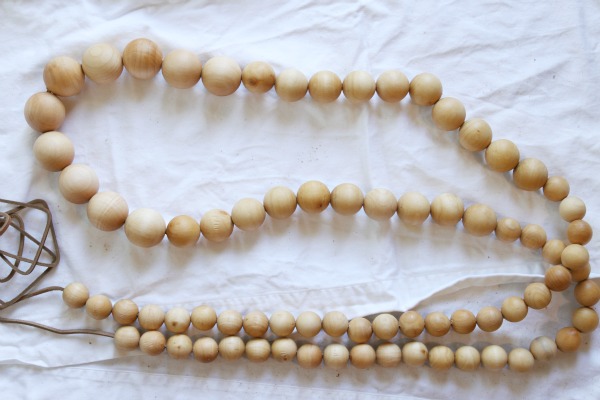
I decided to string the largest beads near the center of the garland and the smallest beads near the ends for a graduated effect.
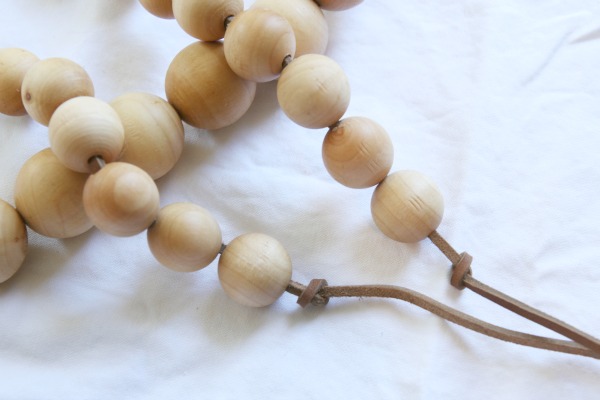
After all the beads were strung, I went back through and spaced them out a little so the garland wasn’t too stiff and had some play in it. I wanted the garland to drape easily. I knotted the ends and cut the excess cording. Done! (You could also tie the ends together to create a circular garland.)
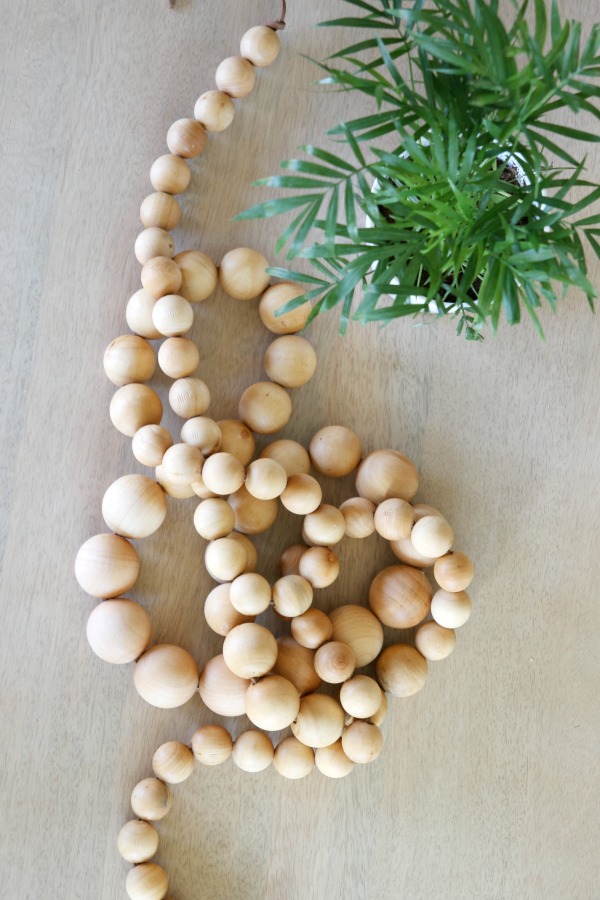
The end result is so pretty in a natural, unfussy way. I love that you can see little indentations from the pliers. Living proof that they were touched by hands – not just a machine. There’s really no wrong way to style them. They kinda just do their own thing and go with everything. They’re the J. Crew of home accessories. I’ve already had a heyday trying them out all over the house.
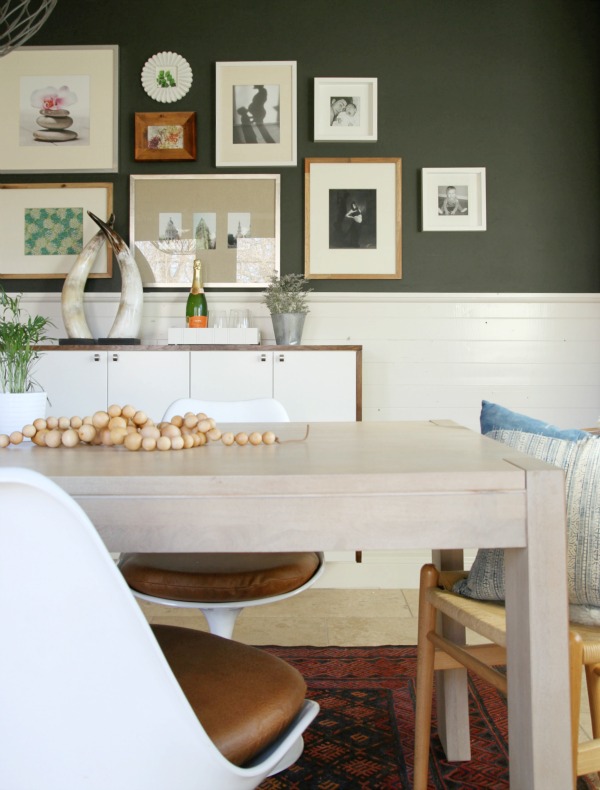
On the dining room table.
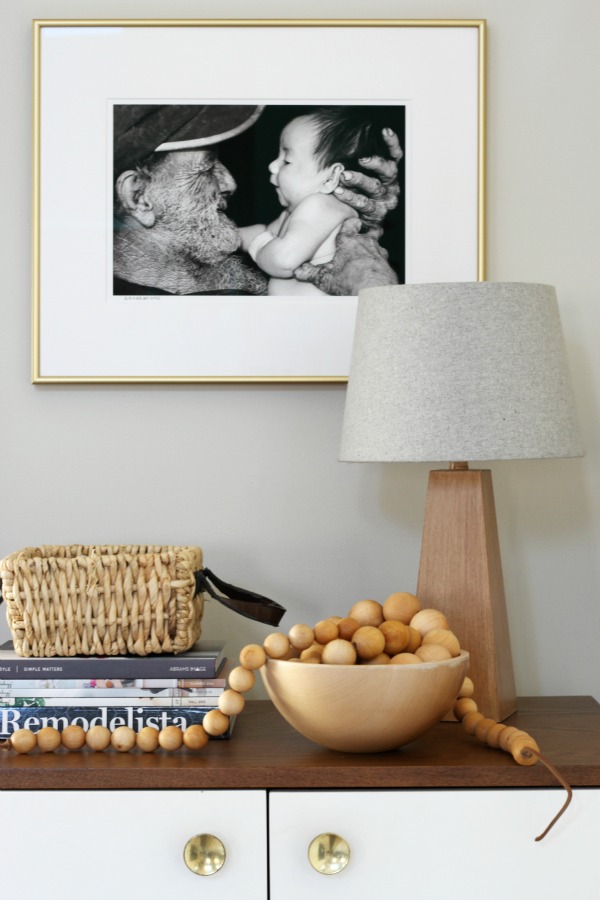
Spilling out of a thrifted bowl on the media cabinet.
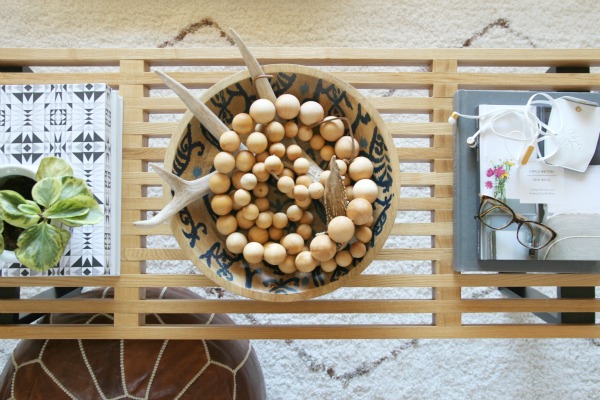
Curled up in a large bowl on the coffee table.
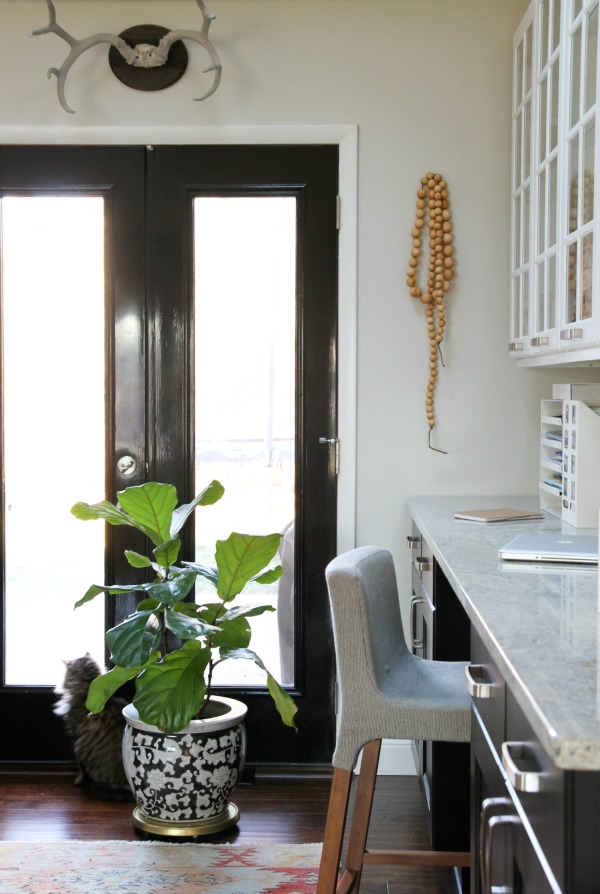
Dangling from a hook on a sliver of wall.
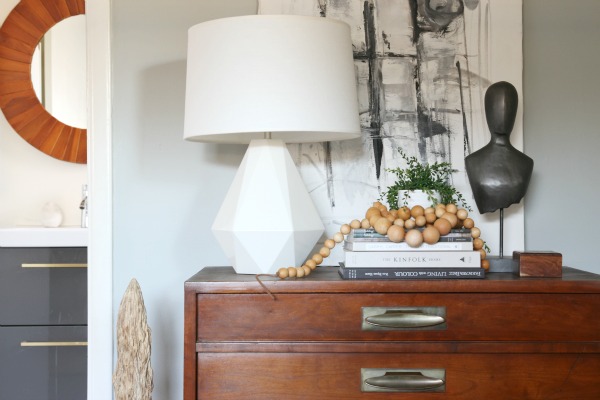
Draped over a pile of books on my dresser.
They’re so versatile. I keep moving them around. Who knows where they’ll end up. I’m going to start a new blogger game called Where Are the Wood Beads? Should be a good time.
images: Dana Miller for House*Tweaking
Article Source: DIY Wood Bead Styling Strand
No comments:
Post a Comment